User Guide
Step 1: Install WP Code Plugin
1.Go to your WordPress dashboard.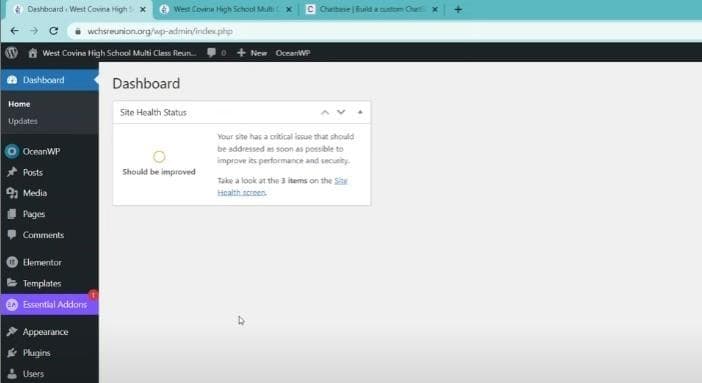
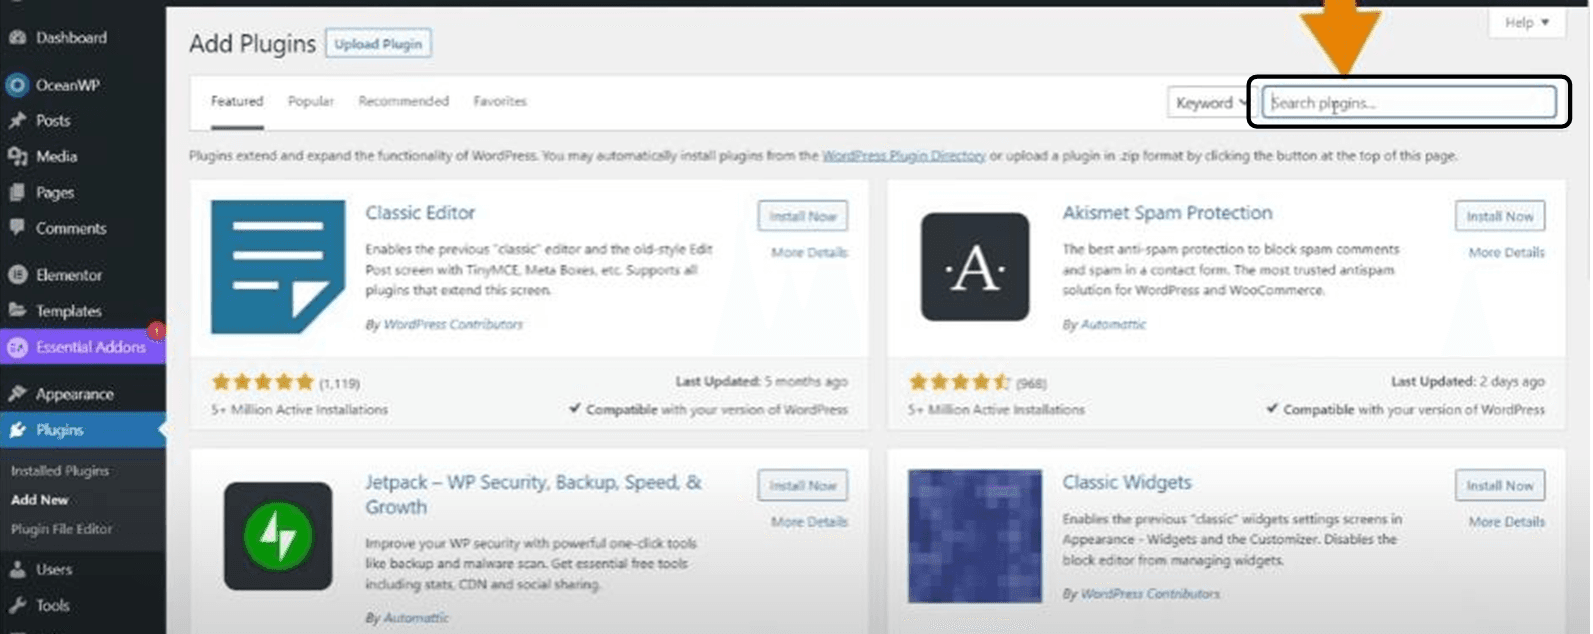
- 2.Navigate to the "Plugin" section and select "Add New."

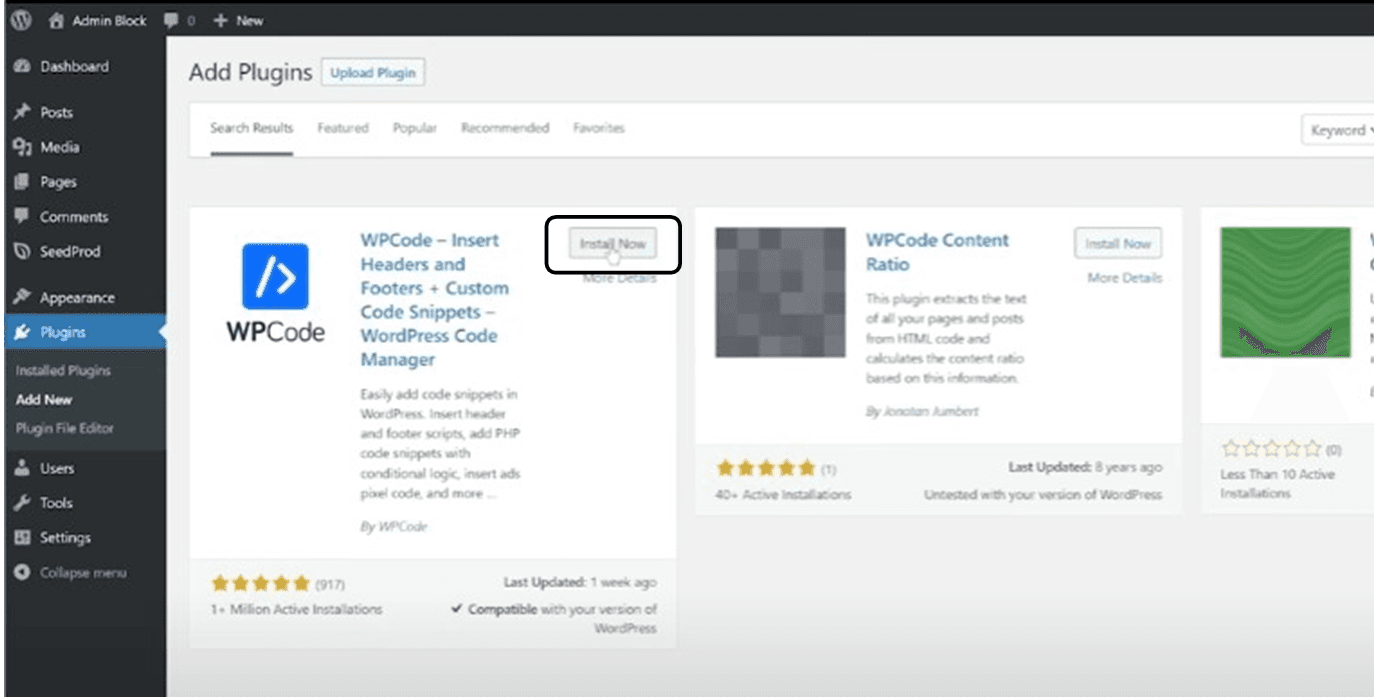
- 3.In the search bar, type "WP Code" or "Code" and find the plugin in the WordPress repository.
- 4.Click "Install Now" and let the installation process complete.
Step 2: Activate WP Code Plugin
1.After installation, click on "Activate" t o enable the WP Code plugin.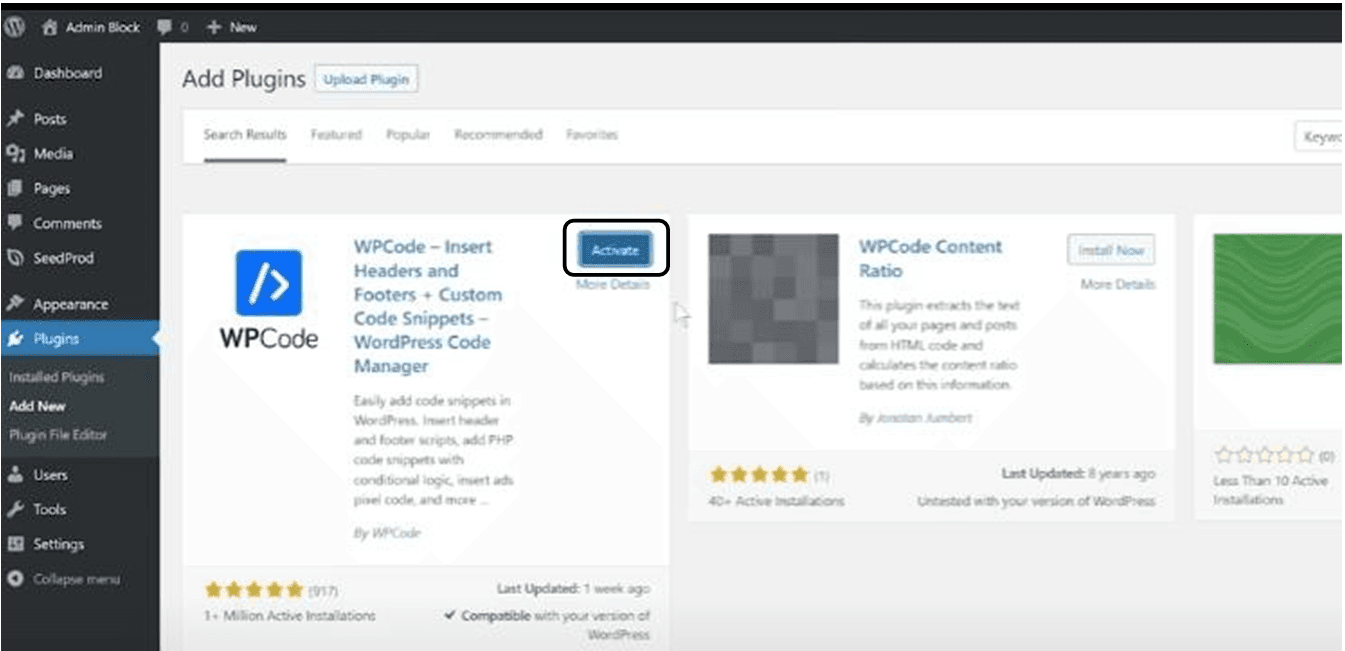
Step 3: Access WP Code Settings
1.Once activated, locate the plugin in the WordPress dashboard menu.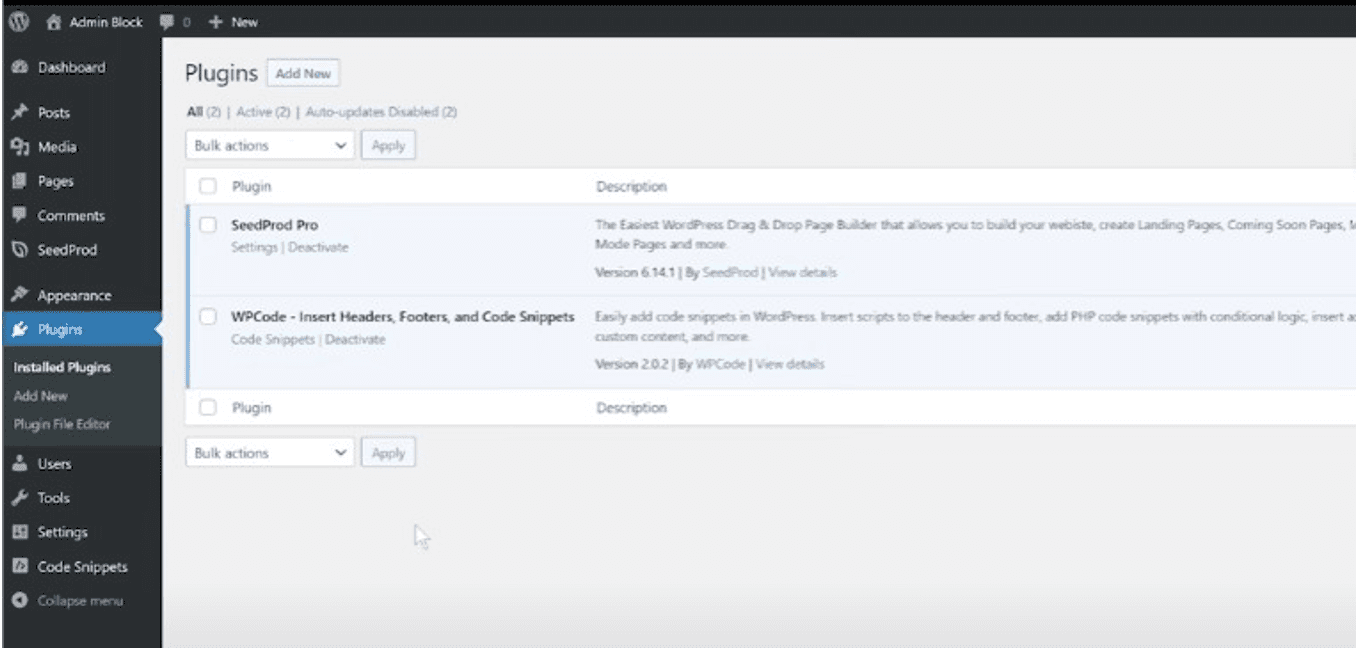
- 2.Click on "Code Snippets" to access its settings.
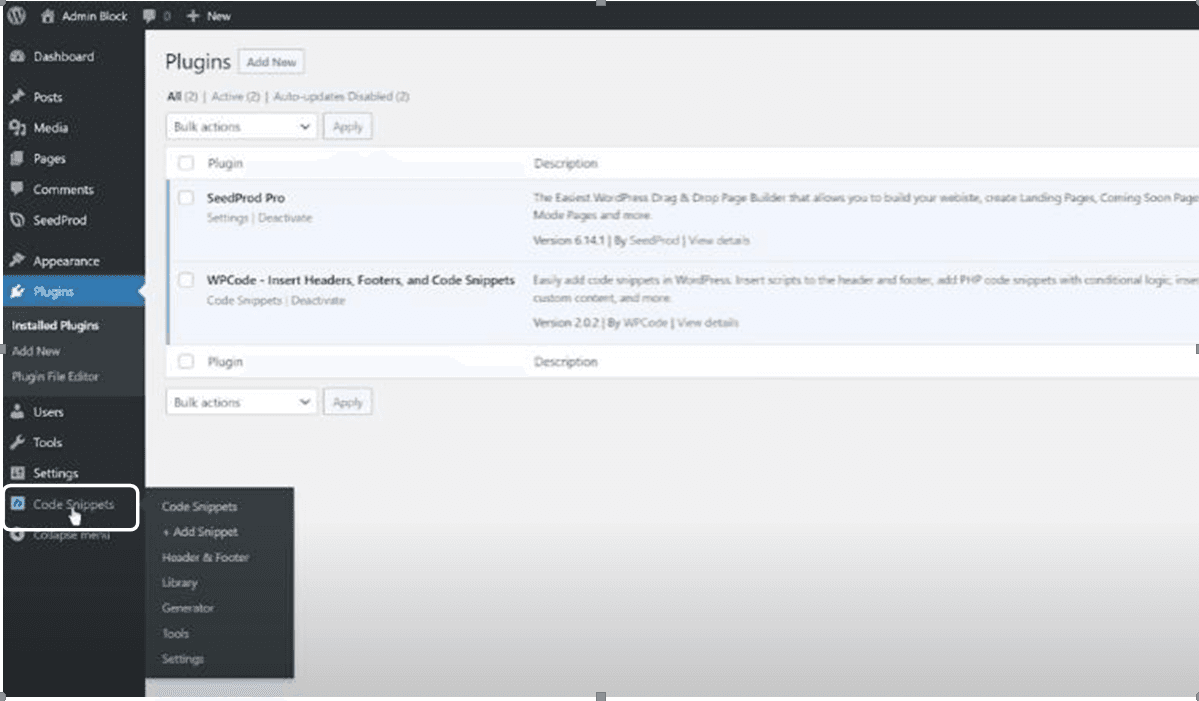
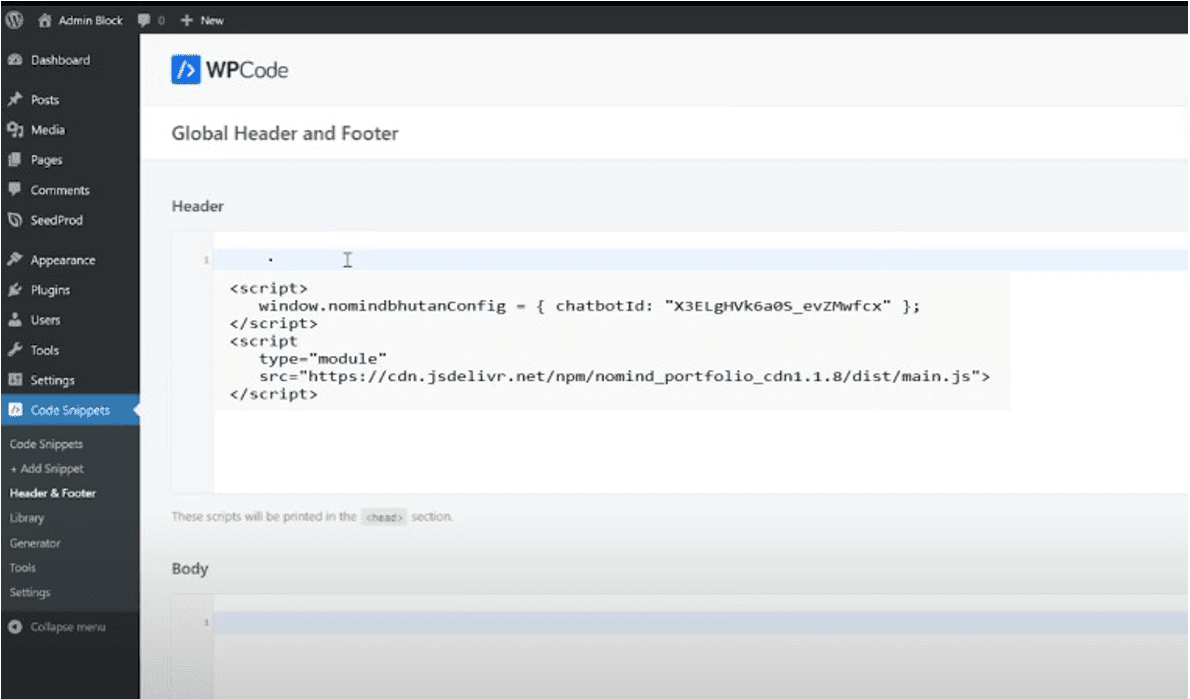
Step 4: Go to Headers and Footers Section
1.Within the Code Snippets, find and click on "Headers and Footers."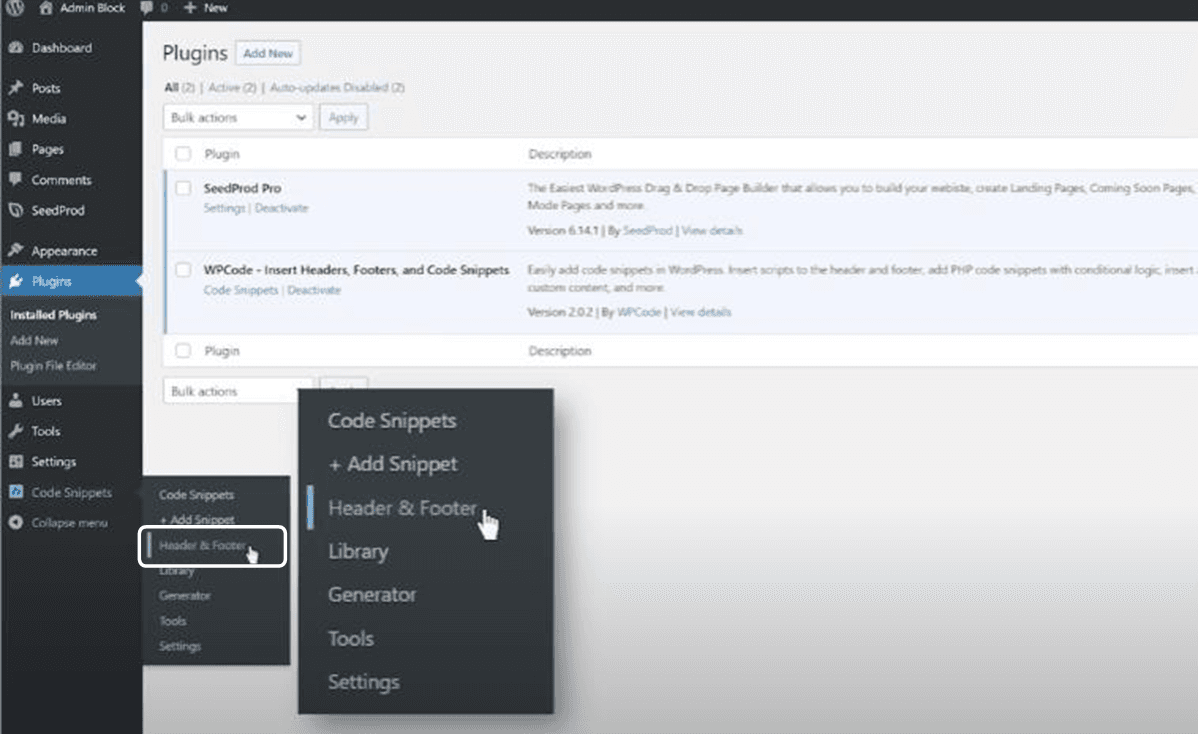
Step 5: Add Code to Header or Footer
1.In the "Headers and Footers" section, you'll see header, footer, and body section.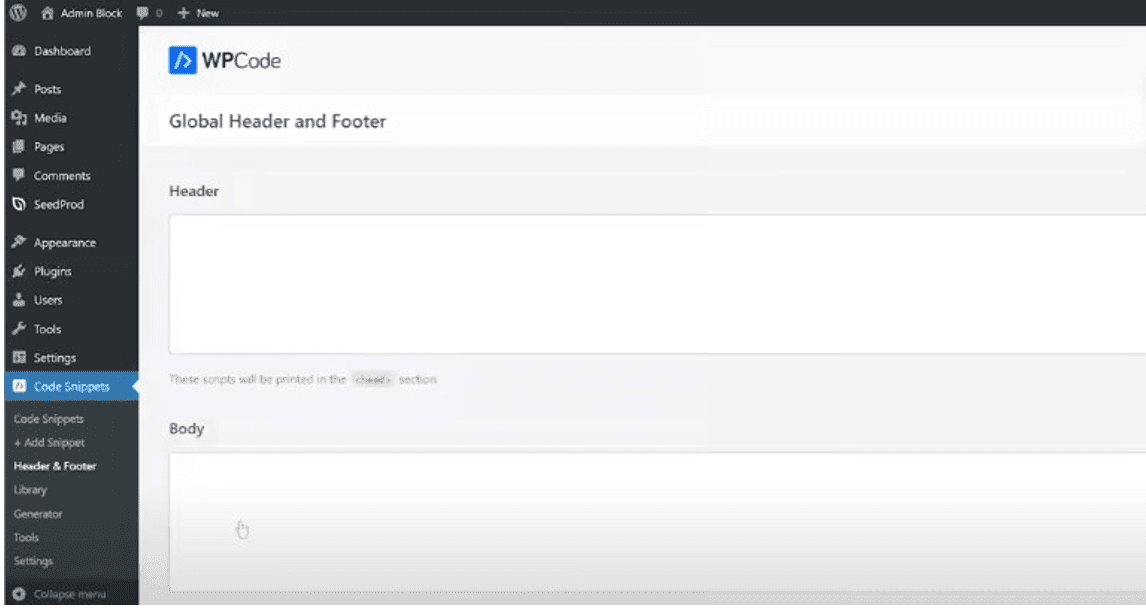
- 2.The chatbot script code which we have provided, paste it into the appropriate section header Section.
Step 6: Save Changes
1.After pasting the code snippet, save your changes using the provided option.Step 7: Deactivate or Uninstall (Optional)
1.If neeed, you can deactivate the plugin temporarily without losing your code snippets.
2.Deactivating the plugin won't permanently delete your changes.
3.Reactivate the plugin when necessary, and your code snippets will persist.Step 8: Delete Code Snippet (Optional)
1.To remove a code snippet, go back to the "Headers and Footers" section.
2.Locate the code snippet you want to delete, make the necessary changes, and save.Step 9: Clear Cache (If needed)
1.After making changes, consider clearing your website cache to see the updates.